

I remember hot summer days, going out with my Granny to collect elderberries. All I knew at the time was those berries were teeny tiny, we needed to pick a lot, and they stained your fingers. Oh, and that I thought the jelly she made from them was one of the best things I ever tasted in my childhood.
Since it took so many elderberries to make a small amount of jelly, she used to save jars just for me. I’m sure part of the reason was because I loved it so much, but I also remember her pulling it out in the winter and encouraging me to have a spoonful. I didn’t think too much of it at the time … after all, Granny used her aloe vera plants on all my scrapes, cuts, and small burns (that I got from wanting to be underfoot and learn all her kitchen secrets), and she was the one who figured out I needed extra lysine to help with my reoccurring mouth ulcers. If she thought I needed elderberry in the winter, I didn’t question it. Plus, when it was served on one of her yummy homemade biscuits, hot out of the oven, who would say no??
Fast forward a few decades, and I started seeing elderberry syrup being touted as the “new” way to support your immune system. I had to laugh! And then I got a glimpse at the prices … now, I knew first-hand the labor involved in picking those little suckers, and the volume needed to produce a final product, but I still thought there had to be a less expensive way.
So I learned to make my own.
It has been a fun process, and I think Granny would have enjoyed it, too. People tend to have their own favorite way of making elderberry syrup, so feel free to experiment! This is the recipe I developed that works best for my family:
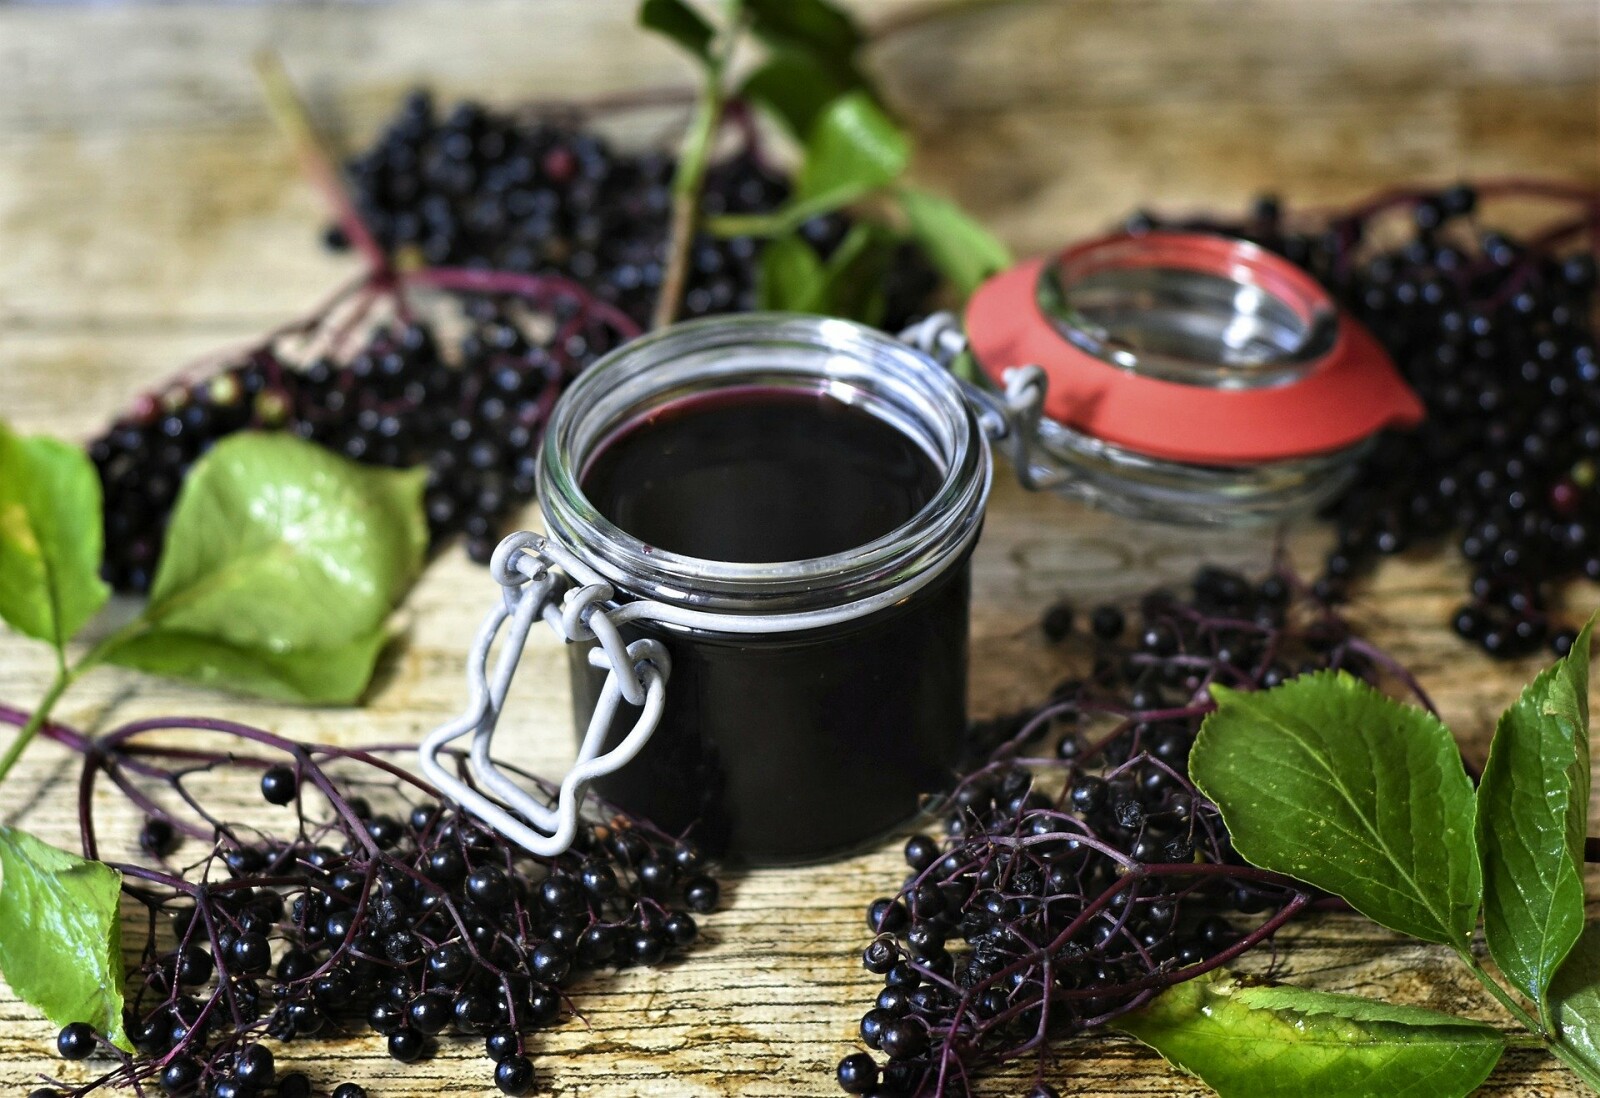
Instant Pot Elderberry Syrup
- 1 cup dried organic elderberries
- 4 cups water (filtered is best)
- 1 cup raw organic honey (local will yield the best results)
- 3-4 drops Thieves (or to taste)
- Place berries and water in Instant Pot. (If you have a stainless steel steamer basket for your IP, that makes straining easier, but you can certainly cook without it.)
- Put lid on IP and place valve in sealing position.
- Select Manual and adjust time to 12 minutes.
- When the timer beeps for finished cooking, do a quick release. Once pressure has been released, remove lid
- Press the Cancel button, then select Sauté, allowing to cook for 10 minutes. Liquid will be reduced by half, and there is no need to stir.
- Mash berries with a potato masher, using either a fine mess strainer or your IP strainer basket. Dispose of berries (my Boy Scout likes to put them in his compost pile.)
- Let the remaining liquid cool to room temperature before adding honey and Thieves. This is to preserve the helpful enzymes in the honey and the therapeutic benefits of Thieves.
- We like to store ours in glass jars. Can last in the refrigerator 1-2 months, unless your family is like mine and can’t get enough of it. We try to take at least 1 tsp a day to keep our immune systems going strong, and we use more if we feel we need extra support.
You know what was REALLY exciting about this? I feel like as a mom of three busy kids, I don’t get much opportunity to explore my creative side (at least when it comes to something I’m passionate about), and making elderberry syrup reminded me just how much I crave that outlet. Of course, staying well was an added bonus!
Ready to hear more about me reclaiming my passion in all areas of life? Check this out to learn more!
Oh, and stay tuned for how we turned that syrup into elderberry gummies of all shapes and sizes.


1 Comment