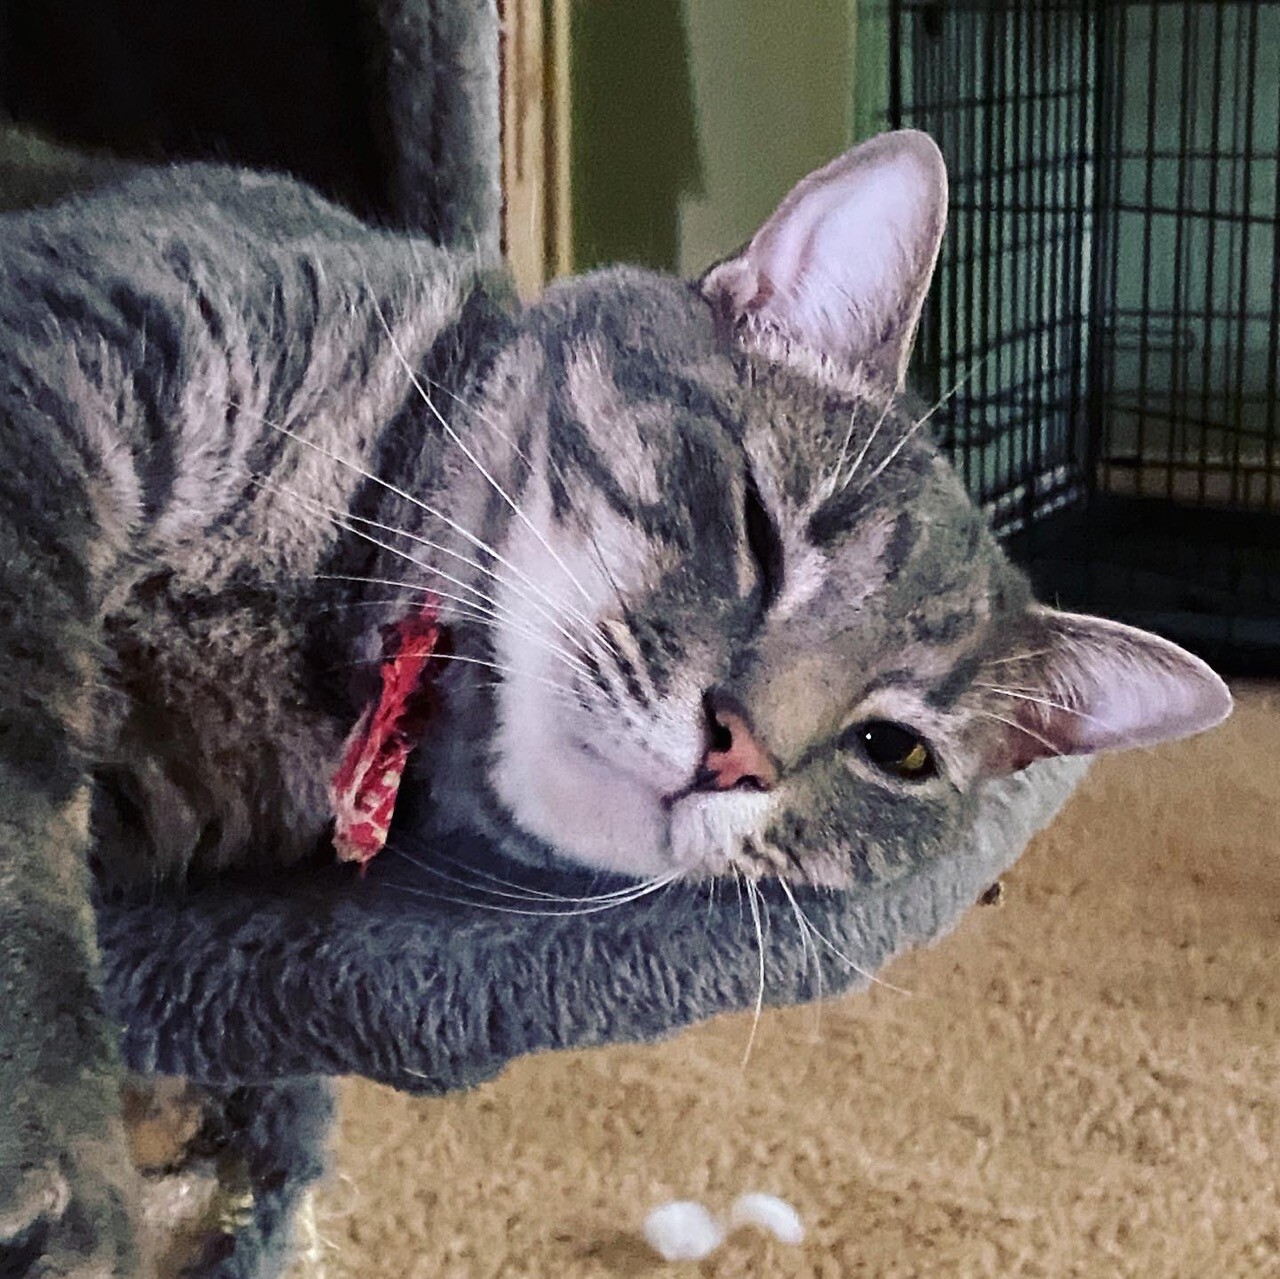
This guy had a traumatic start to life. He was rescued not once, but three times … and then he ended up saving and fixing a gaping hole in our hearts. But that wasn’t then end of the rescuing.
(If you missed the beginning of the story, you can find it here.)
We will never know if Jay’s health issues came from a lack in his birth mother’s milk, the trauma of being abandoned in a ditch, the eye infection that set in, or something he needed that his adoptive cat mama couldn’t give him. We do know that we did everything the sanctuary and vet recommended once we adopted him. But it wasn’t enough.
Sure, he was happy, playful, and gaining weight. All the “professionals” said he was fine; however, he had horrible skin issues, from hair falling out to sores. We used the non-grain food we were told to buy. Heck, I even researched a raw diet and made pet food … only to have all the cats turn up their noses and act like I was trying to feed them sawdust. Yep, that’s a cat for you … and I absolutely love them for it.
The worst was when we used the vet-prescribed flea and tick treatment on the poor fellow. He turned lethargic, threw up, and lost a patch of hair larger than a silver dollar. I already had my doubts about those meds, but we were told it must have been the brand. I waited a couple of months, tried a different brand, and we had the same results. That was when I said enough was enough.
The human members and non-feline pets of our family had been using natural wellness options for some time. I had allowed fear to keep me from pursuing a deep and constant use of those same choices on our cats. Well, not after that drastic hair loss. I researched safe options to keep the creepy crawlies away, tried it on five cats, and had 100% success, no negative side effects. I decided to keep learning.
That wasn’t the end of Jay’s skin troubles. Any little nick would turn into a large scab; a large untreated scab sometimes became an abscess. We once again tried prescribed meds (our poor daughter, after losing one cat, wanted to follow a doctor’s orders), and those failed him every time. His human momma finally realized the value of natural options, and now Jay heals easily and quickly. In fact, his skin health and rapid recovery has become quite the joyful story in our household.
We would love to have you join us and learn more about caring for your pets and livestock in a different way.
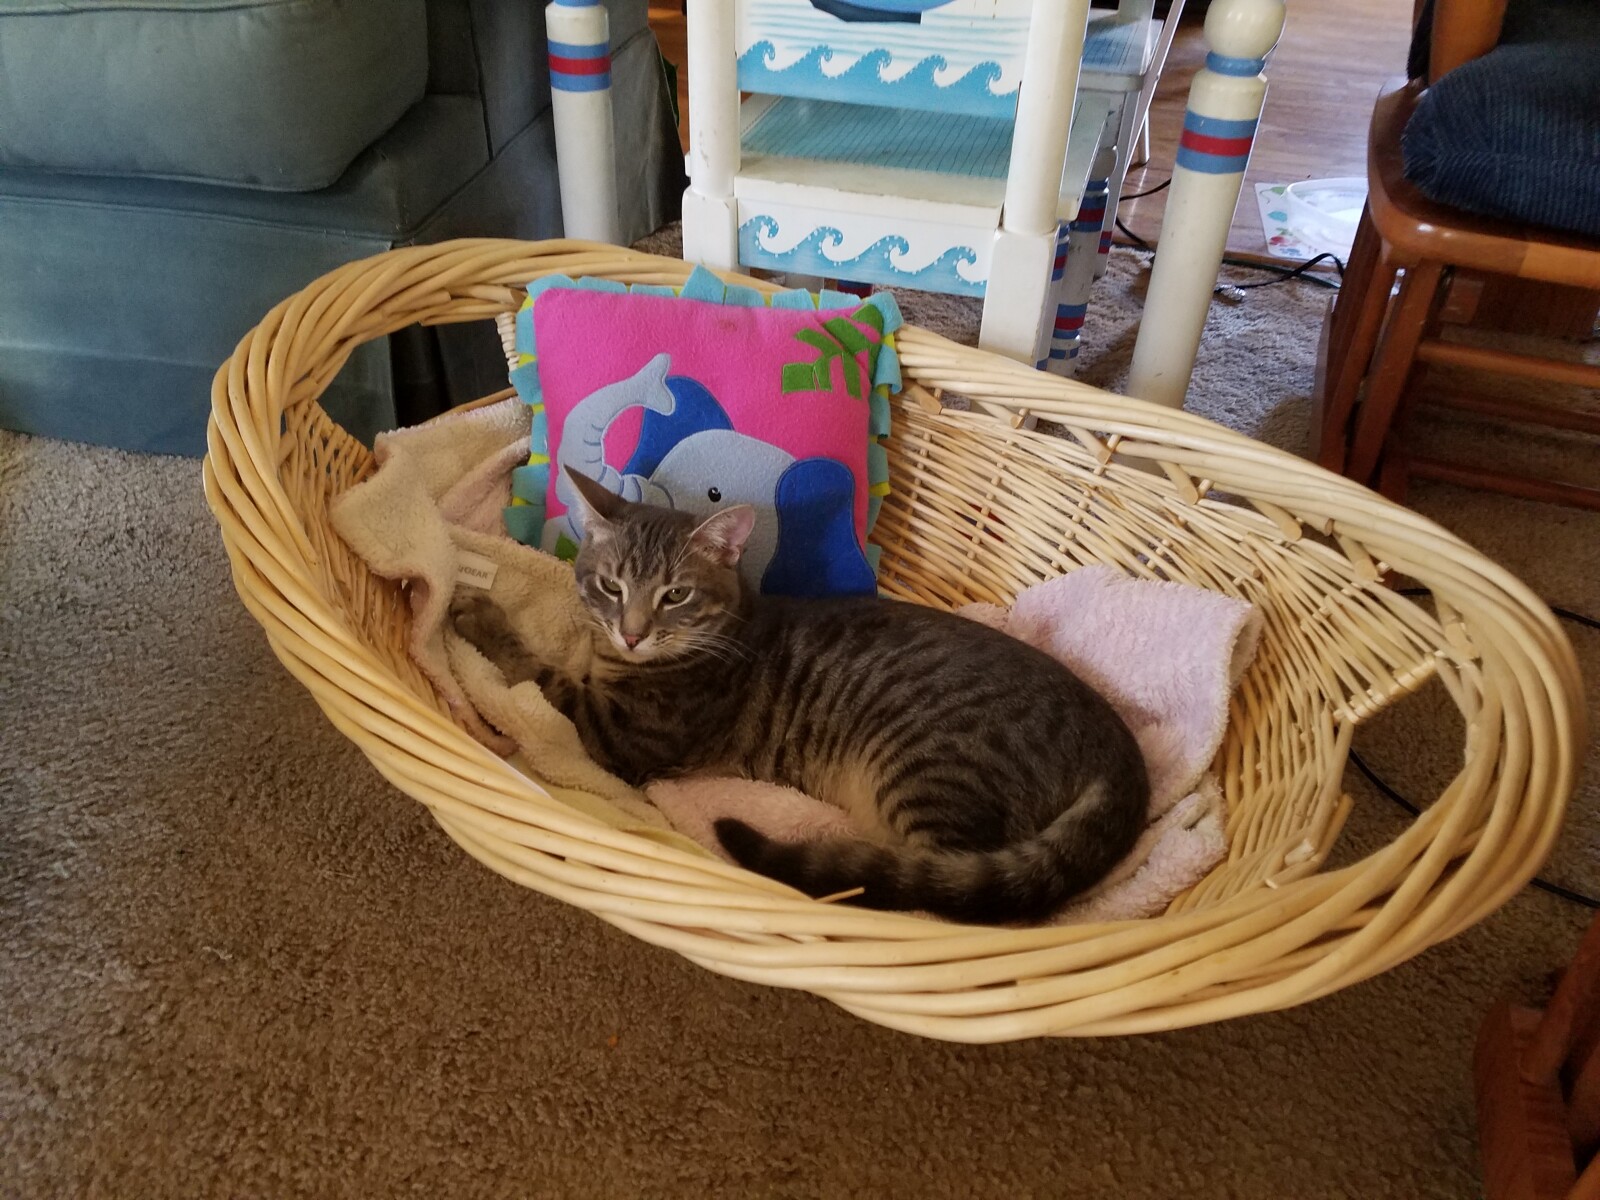
This guy was a scrawny thing the first time we saw him at the animal sanctuary. In fact, my daughter didn’t even pick him up at first. It wasn’t a love at first sight story (well, for her; my heart had a feeling.)
A little backstory for you: several years before, we had gone to the same sanctuary and asked to foster a mama cat and her kittens. We came home with a mother and barely 3 day old babies. Yeah, I know, I’m crazy. The kids immediately fell in love, chose their favorite babies, and named them. When it came time to send them back to be adopted, we claimed all three kittens and the mama (because how many female cats spend way too long waiting for adoption?)
We loved all of them to the moon and back, but one day, the worst happened. Our older daughter’s cat got out, and we couldn’t find her anywhere. We looked for weeks, and then months. Our whole family was heartbroken, but our daughter was especially devastated. I waited until I thought she might be ready, and then one day I said to her, “Would you like to go look at kittens?” She smiled and cried at the same time, nodding her head.
Once at the sanctuary, she actually looked at this guy first. Then she moved from cat tower to tower and back again, looking at all options. You see, she knew she didn’t want a kitten with similar coloring, but she thought she wanted another female. I, along with her two siblings, waited patiently.
And at that moment, it happened. This handsome grey tabby reached his paw out of the tower, touched my daughter, and meowed at her. That was all it took. She asked to hold him, and as she did, the volunteers told us his story. He had been found, almost dead, in a ditch. (In fact, his momma cat and rest of the litter didn’t make it.) Another mother cat, who was nursing her own litter about 2 weeks younger than this rescue, took him in and loved him as her own. His health seemed to have rebounded, and he was up for adoption.
By this point, our daughter was openly crying happy tears, the kitten was perched on her shoulder, and there was no doubt we were taking him home. In many ways, he rescued us. We have never regretted that decision for a moment, but it did start us on a path of learning all about unique health needs for him, and the cats, dog, rabbits, turtles, birds, hermit crabs, and bearded dragon we had a home.

I felt like I had taken a huge step in a positive health direction when I learned how to make elderberry syrup for my family. I should have known, with three kids, that syrup would only be the beginning.
Don’t get me wrong, they liked the syrup fine. My eldest, who is engaged in several different aspects of musical theatre, especially like it for her throat and voice. However, they started seeing elderberry gummies in certain stores, and being kids, they were intrigued.
I started looking for recipes. The molds were easy to find, and I ordered a three-pack of star, heart, and seashell shapes off of Amazon right away … and they sat in the cabinet for several months because I couldn’t find a recipe that kept all the wellness benefits of elderberry syrup. If I was using some of my precious time to make this recipe, why would I add artificial sugar or synthetic gelatin? It simply made no sense to me.
My plan to make elderberry gummies was pretty much on a backburner, until one day, I was scrolling through Facebook and saw a fabulous recipe! Not only did it have elderberry syrup, but it was packed full of antioxidants, probiotics, and had an option for flavoring with additional wellness benefits. I made the first batch that very same week, thinking those gummies would last for at least a 4-6 weeks. Nope! The whole family loved them so much, they were eating several a day, and who was I to complain? A healthy snack that boosts the immune system is a win-win around here.
Just when I thought I was on my A-game, my youngest child said, “It would be really cool if you could make gummy worms.” Okay, challenge accepted (thanks, once again, to Amazon.) 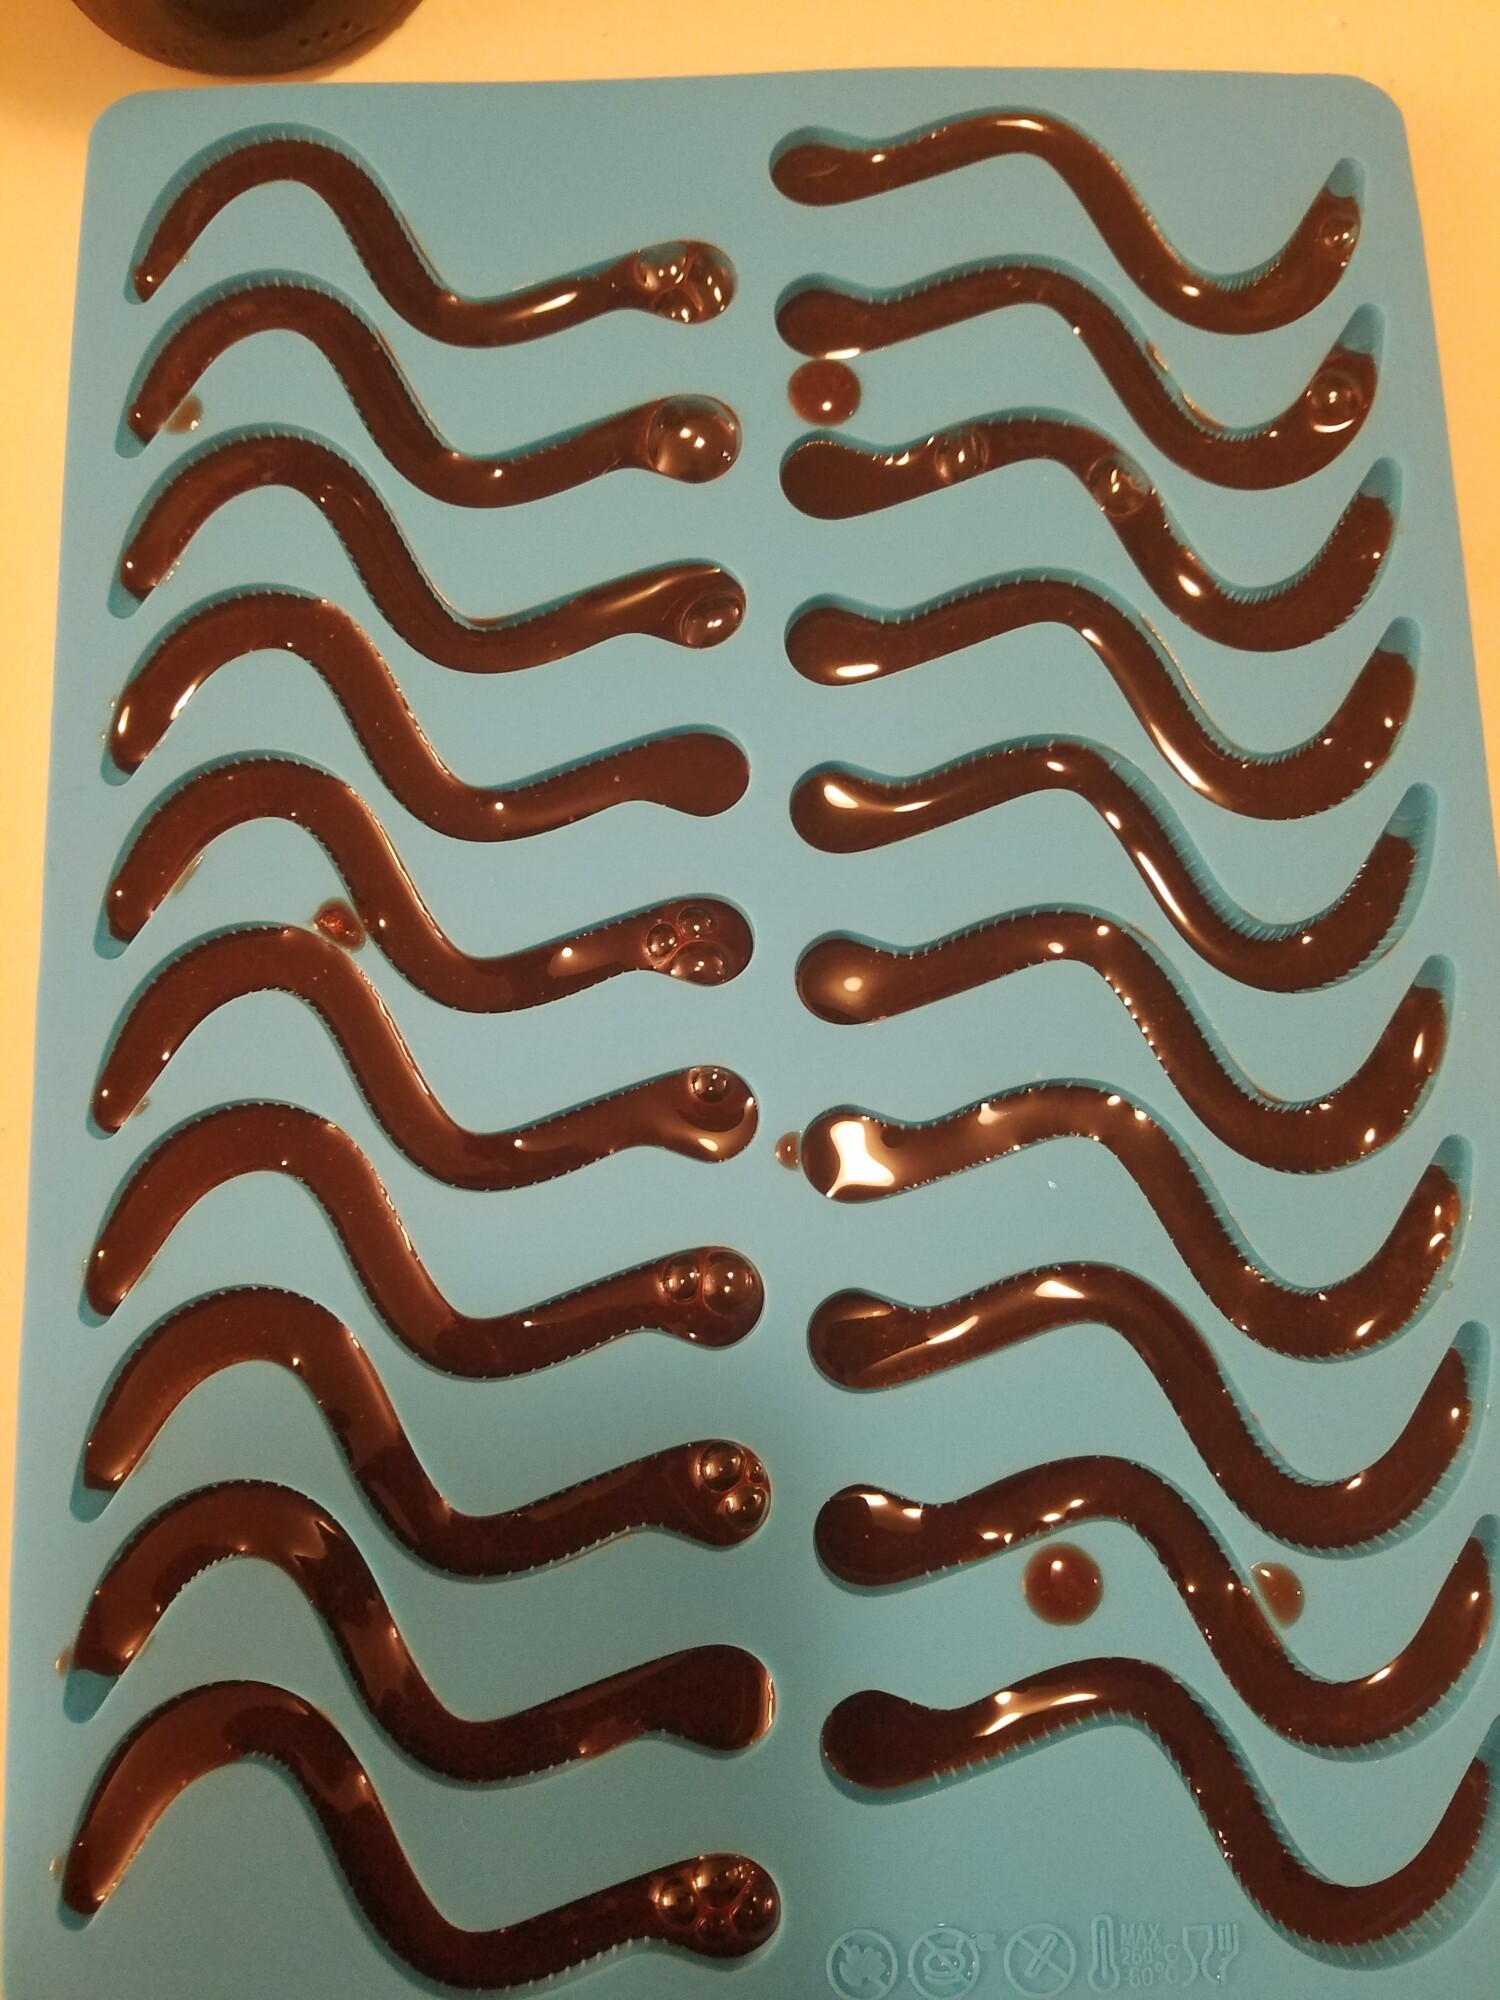

I now make these on a regular basis, partly due to my eldest loving to share them with her theatre friends. It’s great to hear all the feedback on how much the other youths love them and how great everyone is feeling.
Elderberry Gummies
- ½ cup elderberry syrup
- 1 cup Ningxia Red
- 2 T raw, local honey
- 3 ½ T unflavored grass fed gelatin
- 2-4 drops Vitality oil (optional, but our favorites are Orange or Tangerine)
- 2 capsules of Life 9, opened and contents added (optional, but I highly recommend)
- silicone molds
Heat elderberry syrup just until boiling. Remove from heat, add Ningxia. Quickly whisk in gelatin. (You will see recipes calling for more or less gelatin. After several batches, this amount is what I found to work best, but feel free to experiment.) Whisk in remaining ingredients. Add to molds (syringe works best), then put in refrigerator to set. Once firm, store in fridge (we use mason jars.) Enjoy!
Did you miss the story of my elderberry syrup recipe? You can find it here.
I would love to have you join me on my journey of rediscovering my passion for research and learning new things. I absolutely love being a mother, and finding a way to incorporate my other passions into our family keeps life lively and fun! Here is a way to read more about it.
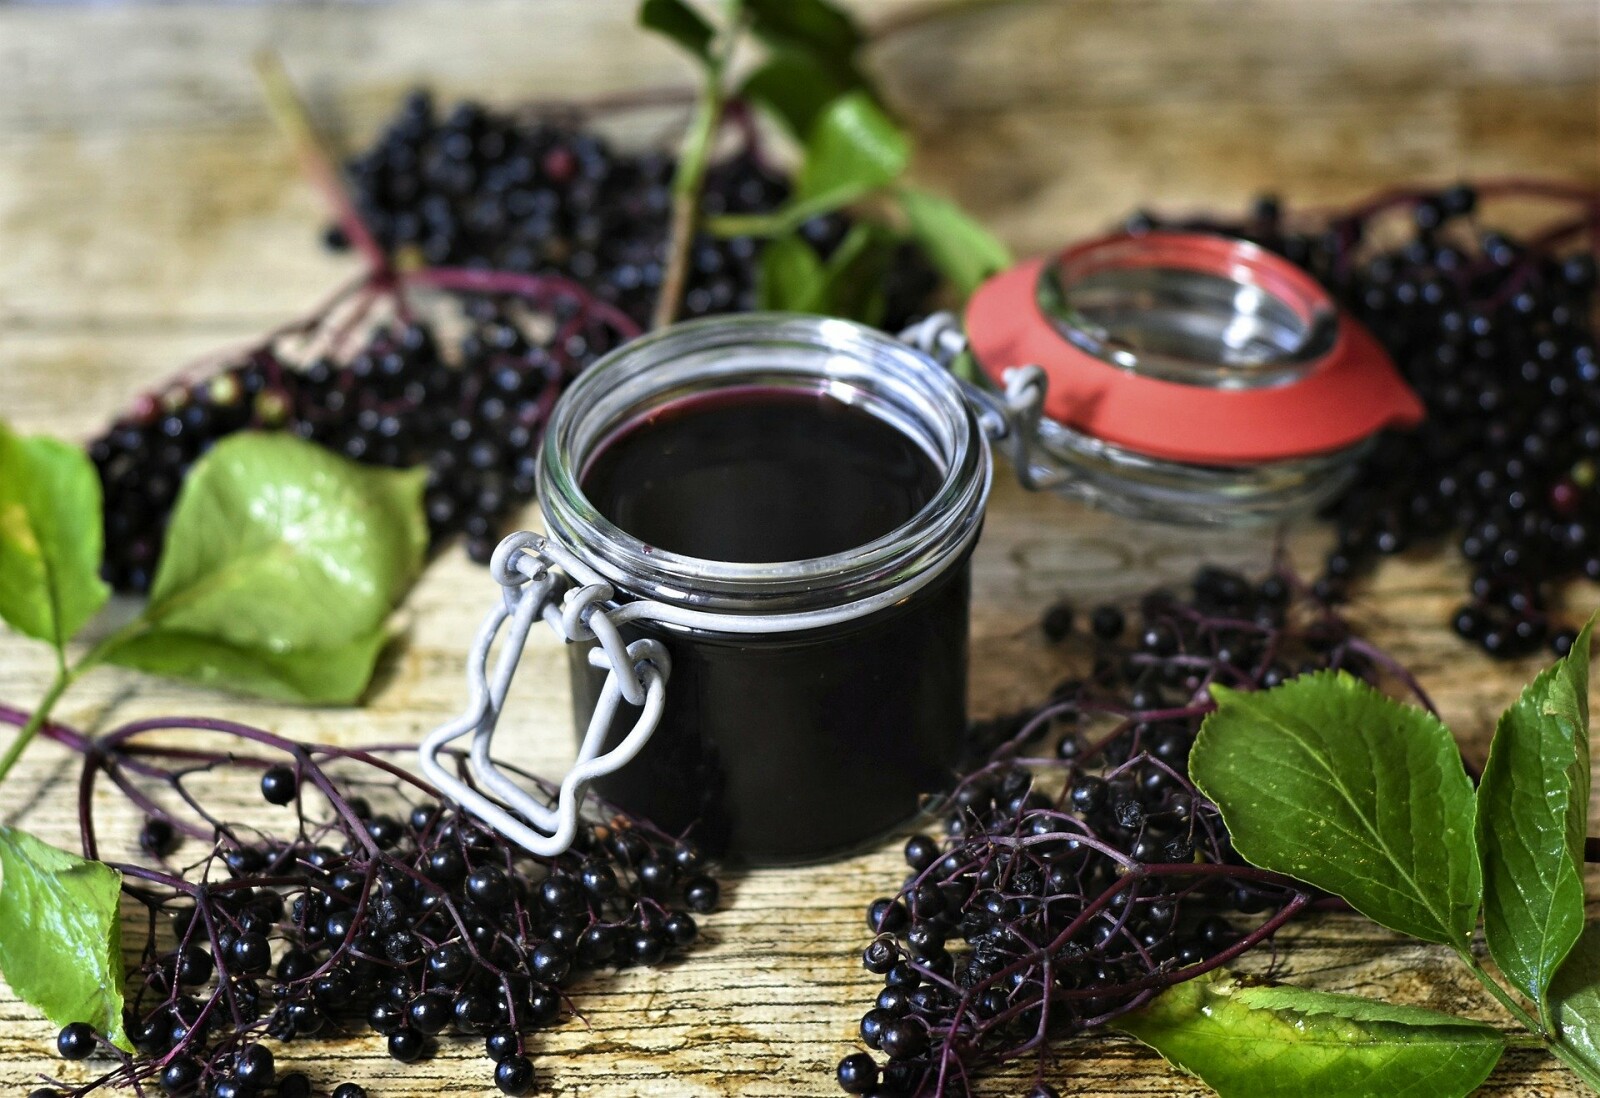
I remember hot summer days, going out with my Granny to collect elderberries. All I knew at the time was those berries were teeny tiny, we needed to pick a lot, and they stained your fingers. Oh, and that I thought the jelly she made from them was one of the best things I ever tasted in my childhood.
Since it took so many elderberries to make a small amount of jelly, she used to save jars just for me. I’m sure part of the reason was because I loved it so much, but I also remember her pulling it out in the winter and encouraging me to have a spoonful. I didn’t think too much of it at the time … after all, Granny used her aloe vera plants on all my scrapes, cuts, and small burns (that I got from wanting to be underfoot and learn all her kitchen secrets), and she was the one who figured out I needed extra lysine to help with my reoccurring mouth ulcers. If she thought I needed elderberry in the winter, I didn’t question it. Plus, when it was served on one of her yummy homemade biscuits, hot out of the oven, who would say no??
Fast forward a few decades, and I started seeing elderberry syrup being touted as the “new” way to support your immune system. I had to laugh! And then I got a glimpse at the prices … now, I knew first-hand the labor involved in picking those little suckers, and the volume needed to produce a final product, but I still thought there had to be a less expensive way.
So I learned to make my own.
It has been a fun process, and I think Granny would have enjoyed it, too. People tend to have their own favorite way of making elderberry syrup, so feel free to experiment! This is the recipe I developed that works best for my family:
Instant Pot Elderberry Syrup
- 1 cup dried organic elderberries
- 4 cups water (filtered is best)
- 1 cup raw organic honey (local will yield the best results)
- 3-4 drops Thieves (or to taste)
- Place berries and water in Instant Pot. (If you have a stainless steel steamer basket for your IP, that makes straining easier, but you can certainly cook without it.)
- Put lid on IP and place valve in sealing position.
- Select Manual and adjust time to 12 minutes.
- When the timer beeps for finished cooking, do a quick release. Once pressure has been released, remove lid
- Press the Cancel button, then select Sauté, allowing to cook for 10 minutes. Liquid will be reduced by half, and there is no need to stir.
- Mash berries with a potato masher, using either a fine mess strainer or your IP strainer basket. Dispose of berries (my Boy Scout likes to put them in his compost pile.)
- Let the remaining liquid cool to room temperature before adding honey and Thieves. This is to preserve the helpful enzymes in the honey and the therapeutic benefits of Thieves.
- We like to store ours in glass jars. Can last in the refrigerator 1-2 months, unless your family is like mine and can’t get enough of it. We try to take at least 1 tsp a day to keep our immune systems going strong, and we use more if we feel we need extra support.
You know what was REALLY exciting about this? I feel like as a mom of three busy kids, I don’t get much opportunity to explore my creative side (at least when it comes to something I’m passionate about), and making elderberry syrup reminded me just how much I crave that outlet. Of course, staying well was an added bonus!
Ready to hear more about me reclaiming my passion in all areas of life? Check this out to learn more!
Oh, and stay tuned for how we turned that syrup into elderberry gummies of all shapes and sizes.


